
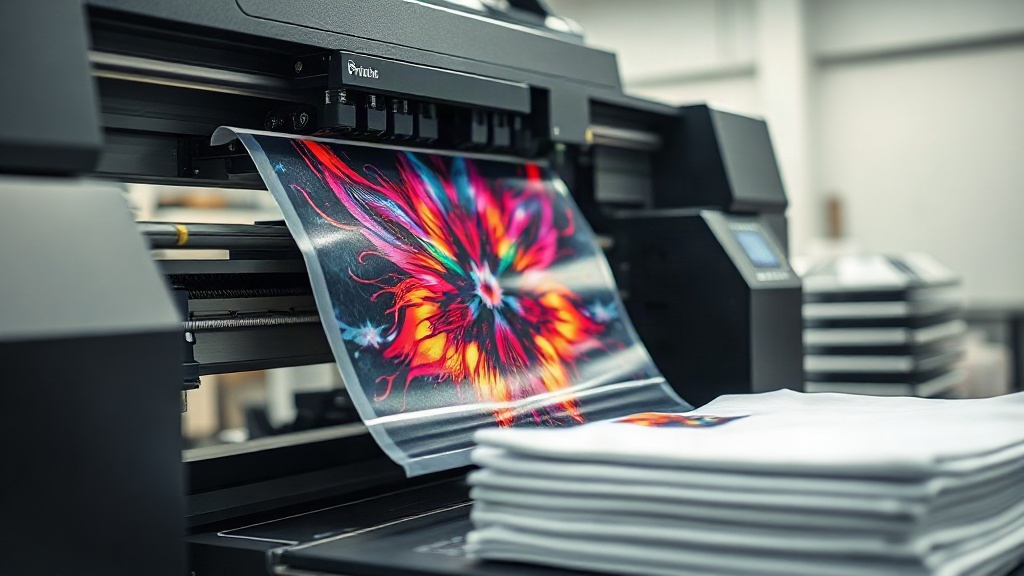
If you've been exploring custom apparel printing, you've likely encountered DTF printing. It stands for Direct to Film, a digital printing method that transfers designs onto fabric using a special film. Unlike DTG (Direct to Garment) or screen printing, DTF offers unique advantages: it works on almost any fabric, requires minimal setup, and produces durable, stretchable prints. Whether you're a small business owner, a hobbyist, or just curious about this technology, this guide will walk you through everything you need to know to get started with DTF printing.
What Exactly Is DTF Printing?
At its core, DTF printing involves printing your design onto a special PET film using a DTF printer. The printer lays down CMYK inks, followed by a layer of white ink, and then a powdered adhesive (hot melt powder) is applied to the wet ink. After curing the powder, you have a transfer ready to be heat-pressed onto a garment. The adhesive melts under heat, bonding the design to the fabric. This process eliminates the need for pre-treating the garment, which is a common step in DTG printing. Plus, because the design sits on top of the fabric, colors remain vibrant even on dark materials.
Why Choose DTF Printing?
There are several compelling reasons to consider DTF printing for your projects:
- Versatility: Works on cotton, polyester, blends, and even non-fabric items like canvas bags and hats.
- No Weeding: Unlike vinyl, there's no tedious cutting and weeding involved.
- Full-Color Prints: Achieve photographic detail without color limitations.
- Durability: Prints withstand repeated washing without cracking or fading.
- Cost-Effective for Small Runs: No minimum order quantities, ideal for custom orders.
These benefits make DTF a favorite among crafters and small businesses looking to offer personalized products.
Essential Equipment for DTF Printing
To start DTF printing, you'll need a few key pieces of equipment. Here's a breakdown:
1. DTF Printer
You can choose between a dedicated DTF printer or convert an existing inkjet printer with a DTF conversion kit. Dedicated printers, like those from brands such as Epson or Roland, are designed specifically for DTF and often include white ink circulation systems to prevent clogging. If you're on a budget, a conversion kit for a printer like the Epson EcoTank can be a cost-effective entry point.
2. DTF Inks
Use pigment-based DTF inks, which are formulated to adhere to the film and later to fabric. These inks include CMYK plus white. Quality inks ensure vibrant colors and reliable performance.
3. PET Film
DTF film comes in rolls or sheets. It has a coated side that receives the ink and a matte side for handling. Look for film that is compatible with your printer and offers good ink absorption.
4. Hot Melt Powder
This thermoplastic powder is crucial for bonding. It's applied to the wet ink after printing. The powder melts during heat pressing, creating a strong bond. Choose a fine-grade powder for smooth results.
5. Heat Press
A heat press is essential for transferring the design. You'll need one capable of reaching 325°F (160°C) and applying consistent pressure. A clamshell or swing-away press works well.
6. Curing Oven or Heat Gun
After applying powder, you need to melt it. A curing oven provides even heat, but a heat gun can work for small-scale operations. Be careful not to scorch the film.
Step-by-Step DTF Printing Process
Now that you have your equipment, let's walk through the DTF printing process from start to finish.
Step 1: Prepare Your Design
Create your artwork in a graphic design software like Photoshop or Illustrator. Remember to mirror the image horizontally before printing, as you'll be pressing it face-down onto the fabric. Ensure your design uses CMYK color mode and has a transparent background if needed. Save it as a high-resolution file (300 DPI recommended).
Step 2: Print on DTF Film
Load the DTF film into your printer with the coated side facing the print head. Send your design to print. The printer will lay down the color inks first, followed by a layer of white ink. The white ink acts as a base, making colors pop on dark fabrics. Allow the print to sit for a moment.
Step 3: Apply Hot Melt Powder
While the ink is still wet, sprinkle hot melt powder evenly over the printed area. You can use a powder shaker for large batches. Gently shake off excess powder; you want a thin, uniform layer. Too much powder can lead to a rough feel.
Step 4: Cure the Powder
Place the film in a curing oven at around 300°F (150°C) for 2-3 minutes, or use a heat gun until the powder melts and becomes glossy. The powder should turn from white to clear, indicating it's melted. Don't overdo it, as the film can warp.
Step 5: Heat Press the Transfer
Set your heat press to 325°F (160°C) with medium pressure. Place the garment on the press, then position the transfer on top with the printed side facing down. Press for 10-15 seconds. For best results, use a Teflon sheet or parchment paper over the transfer to protect it.
Step 6: Peel and Enjoy
After pressing, remove the garment from the press and let it cool for a few seconds. Then, peel off the film. You can do a hot peel or cold peel depending on the film type; check your film's instructions. Your vibrant, durable print is now ready to wear!
Tips for Success with DTF Printing
To get the best results and avoid common pitfalls, keep these tips in mind:
- Maintain Your Printer: Regularly clean the print head and check ink levels to prevent clogs.
- Control Humidity: High humidity can affect powder application and ink drying. Aim for 40-60% relative humidity.
- Test Your Settings: Every heat press and film combo is different. Do test presses to find the ideal time, temperature, and pressure.
- Store Film Properly: Keep film in a cool, dry place to avoid moisture absorption.
- Use Quality Blanks: The fabric type can affect adhesion. 100% cotton and polyester work well; blends may require adjustments.
Common Challenges and How to Overcome Them
Even with the best equipment, you might run into issues. Here are some common problems and solutions:
Faded or Dull Prints
This often happens if the white ink layer is too thin or if the powder didn't melt properly. Ensure you're using enough white ink and curing the powder until it's fully melted.
Print Cracking After Washing
Cracking usually means the transfer wasn't pressed long enough or at high enough temperature. Increase press time to 15-20 seconds and check pressure. Also, ensure the garment is properly cooled before washing.
Powder Not Sticking
If powder doesn't adhere, the ink may have dried too much before application. Work quickly after printing, or increase the ink density in your design.
Frequently Asked Questions About DTF Printing
What fabrics can I use with DTF printing?
DTF printing works on a wide range of fabrics, including cotton, polyester, nylon, and blends. It's also suitable for non-fabric items like leather and canvas. However, fabrics with a rough texture or heavy coatings may not adhere as well.
How durable is a DTF print?
When applied correctly, DTF prints are highly durable and can withstand 50+ washes without fading or cracking. Proper heat press settings and quality materials are key to longevity.
Do I need a special printer for DTF?
You can use a dedicated DTF printer or convert a standard inkjet printer with a DTF kit. Dedicated printers simplify the process, but conversions are a budget-friendly alternative.
Is DTF printing cost-effective for small businesses?
Yes, DTF is cost-effective for short runs because there are no minimums and you can print on demand. However, initial equipment costs can be significant. For high-volume orders, other methods like screen printing may be more economical.
DTF printing opens up a world of possibilities for custom apparel and more. With the right setup and a bit of practice, you can produce professional-quality prints that impress customers and bring your creative ideas to life.