
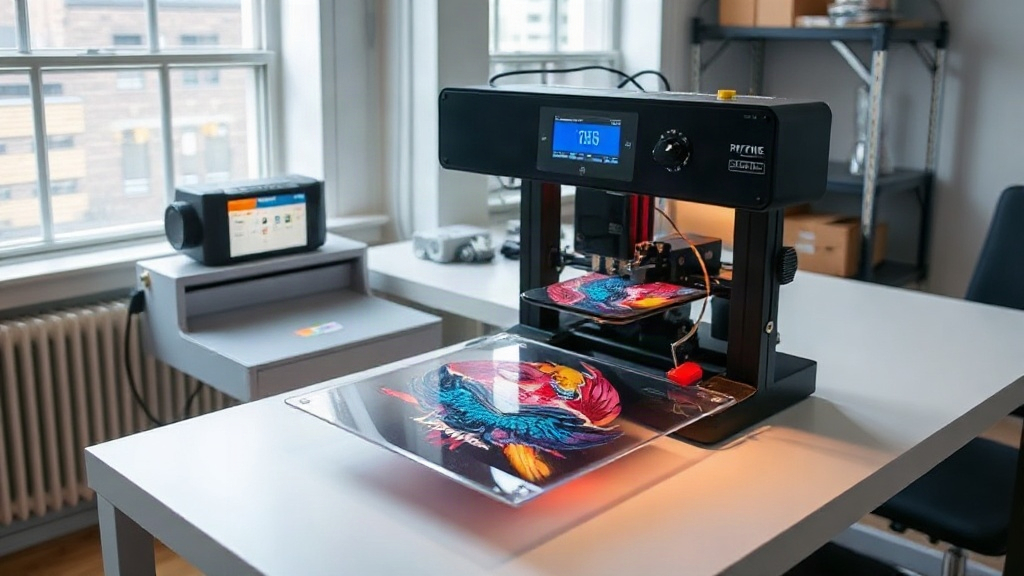
If you've been exploring custom apparel decoration, you've likely encountered DTF printing. Short for Direct-to-Film, this technology has rapidly gained popularity for its versatility and vibrant results. Unlike traditional methods that require specialized equipment or extensive setup, DTF printing offers a streamlined workflow that works on almost any fabric. In this guide, we'll dive deep into the world of DTF printing, covering everything from the basic process to advanced tips for flawless transfers.
What is DTF Printing?
DTF printing stands for Direct-to-Film. It's a digital printing method where your design is printed onto a special film, coated with a hot-melt adhesive powder, and then heat-pressed onto the fabric. The process eliminates the need for weeding, pre-treatment, or specialized substrates, making it a game-changer for small businesses and hobbyists alike.
The core of DTF printing lies in the transfer film. The film is coated with a release layer that holds the printed ink. After printing, a powdered adhesive is applied while the ink is still wet. This powder sticks only to the ink, not the film. Once excess powder is removed, the film is cured, and the design is ready to be transferred.
How Does DTF Printing Work?
Understanding the DTF printing process is essential for achieving consistent results. Here's a step-by-step breakdown:
- Design Preparation: Create your artwork in a graphics program. Remember to mirror the image if your printer requires it (most DTF printers print mirrored).
- Printing: Load the DTF film into your printer. The printer lays down a layer of white ink first (for opacity), followed by the color inks. Some printers also print a clear adhesive layer.
- Powder Application: While the ink is wet, sprinkle the hot-melt adhesive powder evenly over the print. Shake off the excess.
- Curing: Place the film in a curing oven or under a heat press for a short time to melt the powder. This creates a dry, non-sticky surface.
- Transfer: Set your heat press to the recommended temperature (usually 300-320°F) and press the film onto the fabric for 10-15 seconds.
- Peel: After pressing, peel the film off while it's still hot (hot peel) or after it cools (cold peel), depending on the film type.
Each step is critical, but the powder application and curing are often where beginners run into issues. We'll cover troubleshooting later.
Why Choose DTF Printing?
DTF printing offers several compelling advantages over other decoration methods like screen printing, DTG, and vinyl:
- No Weeding: Unlike vinyl, there's no tedious weeding process. This saves hours of labor, especially for complex designs.
- Works on Multiple Fabrics: From cotton and polyester to blends, leather, and even nylon, DTF transfers adhere well to a wide range of materials.
- Vibrant Colors: The white ink base allows for bright, opaque colors on dark garments without the need for multiple passes.
- Cost-Effective for Short Runs: No setup fees or minimums, making it ideal for one-off items or small batches.
- Soft Hand Feel: When done correctly, the transfer is thin and flexible, not stiff like some other methods.
- Durability: Properly applied DTF transfers withstand washing and wear better than many alternatives.
These benefits have made DTF printing a favorite among custom apparel businesses, especially those offering personalized products.
DTF Printing vs. Other Methods
How does DTF stack up against the competition? Let's compare.
DTF vs. DTG
Direct-to-Garment (DTG) printing is another digital method. DTG prints directly onto the fabric, but it requires pre-treatment for dark shirts and works best on 100% cotton. DTF printing, on the other hand, doesn't need pre-treatment and can be used on almost any fabric. DTG often produces a softer feel, but DTF offers more versatility and often more vibrant colors on dark garments.
DTF vs. Screen Printing
Screen printing is the go-to for large orders due to its low cost per unit. However, it requires separate screens for each color, making short runs expensive and time-consuming. DTF printing shines for small to medium runs, offering full-color complexity with no setup. For orders over 50 pieces, screen printing might be more economical, but for anything less, DTF is often the winner.
DTF vs. Vinyl
Heat transfer vinyl (HTV) is popular for simple designs, but it requires weeding and layering for multi-color prints. DTF printing eliminates weeding and allows for photographic-quality images with gradients and fine details. Vinyl can be more durable for single-color text, but DTF is superior for complex artwork.
Choosing the Right DTF Printer
If you're ready to dive into DTF printing, selecting the right printer is crucial. There are several options, from entry-level desktop models to industrial-scale machines.
For beginners, a modified Epson printer with a DTF conversion kit is a popular choice. These setups are affordable and can produce high-quality transfers. However, they may require more maintenance and have slower print speeds.
For businesses with higher volume, dedicated DTF printers like those from Mutoh, Roland, or Chinese brands like Audley offer faster speeds, better reliability, and larger print sizes. Look for features like:
- Print Head: Epson i3200 or Ricoh heads are common and reliable.
- White Ink Circulation: Essential to prevent clogging.
- Heated Print Bed: Helps with ink adhesion and drying.
- Software: RIP software that supports DTF profiles is a must.
Don't forget the consumables: DTF film, ink, and powder. Quality supplies directly impact your output. Cheaping out on film can lead to curling or poor ink adhesion, while low-quality powder may cause clogged nozzles or poor wash durability.
Step-by-Step DTF Printing Process
Let's walk through the process in more detail, with practical tips for each stage.
1. Design and RIP
Start with a high-resolution image (300 DPI). Use RIP software to create a print file with the correct color profile. For DTF, you'll typically print a white underbase, then CMYK, and sometimes a clear layer. Your RIP software will handle the color separation.
2. Printing
Load the DTF film into your printer. Ensure the film is flat and dust-free. Print the design. The printer will lay down the white ink first, followed by colors. Some printers print a clear adhesive layer, but many rely on the powder.
3. Powder Application
While the ink is still wet, apply the hot-melt adhesive powder. You can do this manually or with an automatic shaker. The goal is an even coat that sticks only to the ink. Gently shake off excess powder. Too much powder can lead to a rough texture; too little can cause poor adhesion.
4. Curing
Cure the powder using a heat press or a curing oven. The powder should melt and become glossy. Typically, 300°F for 2-3 minutes in an oven, or 10-15 seconds in a heat press. Overcuring can cause the film to curl; undercuring leads to wash-off.
5. Transfer
Set your heat press to 300-320°F with medium pressure. Place the transfer face down on the garment. Press for 10-15 seconds. Peel the film off either hot or cold, depending on the film's instructions. Hot peel is common and gives a smooth finish.
6. Post-Press
For added durability, you can press the garment again with a Teflon sheet for 5-10 seconds. This ensures the adhesive fully penetrates the fabric.
Common DTF Printing Issues and How to Fix Them
Even with the best equipment, problems can arise. Here are some common issues and solutions:
- Clogged Print Head: Regular cleaning and maintenance are key. Use a daily cleaning routine and keep the print head moist.
- Poor Adhesion: Usually caused by insufficient powder, undercuring, or wrong pressure. Increase powder, check curing time/temp, and adjust pressure.
- Dull Colors: May be due to incorrect color profile or old ink. Calibrate your printer and use fresh ink.
- Film Curling: Often from overcuring or too much heat. Reduce curing time or temperature.
- Wash-Off: If the transfer peels after washing, the powder wasn't fully cured or the fabric wasn't clean. Ensure proper curing and pre-wash garments if needed.
Keeping a log of your settings and results can help you troubleshoot faster.
Tips for Perfect DTF Transfers
Want to achieve professional-grade results? Follow these tips:
- Maintain Humidity: DTF printing works best in a controlled environment. Ideal humidity is 40-60%. Too dry causes static and powder issues; too humid affects ink drying.
- Use Quality Film: Not all DTF film is created equal. Look for film with a consistent coating and good release properties.
- Test Your Powder: Different powders have different melt points. Find one that works with your curing method.
- Press Twice: A second press after peeling can improve wash durability.
- Store Transfers Properly: Keep unused transfers in a cool, dry place, away from direct sunlight.
Applications of DTF Printing
DTF printing isn't just for t-shirts. Its versatility opens up many possibilities:
- Apparel: T-shirts, hoodies, jeans, jackets, and more.
- Accessories: Tote bags, hats, socks, and even shoes.
- Home Decor: Pillows, curtains, and upholstery.
- Promotional Items: Corporate giveaways, event merchandise.
Because DTF transfers can be applied to so many surfaces, it's a powerful tool for creative entrepreneurs.
Frequently Asked Questions
What fabrics can I use with DTF printing?
DTF transfers work on cotton, polyester, blends, nylon, leather, and more. They adhere well to both light and dark fabrics without pre-treatment.
How durable are DTF transfers?
When applied correctly, DTF transfers can withstand 50+ washes without fading or cracking. Proper curing and quality materials are key.
Do I need a special printer for DTF printing?
You can convert an Epson printer with a DTF kit, or buy a dedicated DTF printer. Dedicated printers offer better reliability and speed for higher volumes.
Can I use DTF printing on 100% polyester?
Yes, DTF printing works great on polyester, even on high-performance fabrics. The low-temperature transfer avoids dye migration issues common with other methods.
What is the cost per print for DTF?
The cost varies based on design size and materials. On average, a letter-sized DTF transfer costs about $1-3 in consumables, making it cost-effective for short runs.
With this comprehensive guide, you're well-equipped to start your DTF printing journey. Whether you're a hobbyist or a business owner, DTF printing offers a world of possibilities for custom apparel and beyond.