
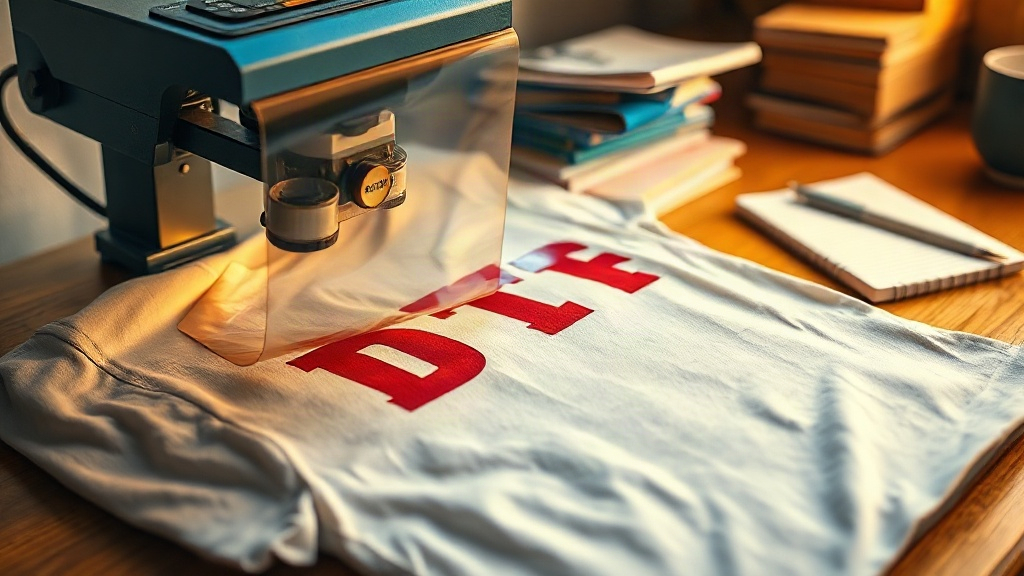
You've probably seen those vibrant, detailed prints on t-shirts and thought, 'I want that.' But when you try DTF Transfers yourself, the results can be disappointing: dull colors, peeling edges, or a stiff feel. The secret often lies in your heat press settings. Get them right, and you'll achieve professional-quality results that last. This guide will walk you through every detail, from temperature to pressure, so you can press with confidence.
Why Heat Press Settings Make or Break Your DTF Transfers
DTF Transfers are not like other heat-applied graphics. They consist of a printed design on a special film, with a thermoplastic adhesive powder on the back. When heat and pressure are applied, the adhesive melts and bonds to the fabric. If the temperature is too low, the adhesive won't fully melt, leading to poor adhesion and early peeling. Too high, and the film may scorch or the adhesive may over-melt and spread, causing blurry edges. Pressure ensures even contact; too little pressure means the transfer won't stick in all areas, while too much can distort the design or push adhesive into unwanted places. Time controls how long the adhesive has to flow and bond. So, these three factors work together. Adjusting one without considering the others is a recipe for frustration.
The Golden Trio: Temperature, Pressure, and Time
Let's break down each element and how to dial it in for different fabrics.
Temperature: The Heat That Activates
Most DTF transfer adhesives activate between 300°F and 325°F (150°C to 160°C). However, the ideal temperature depends on your fabric. For cotton and cotton blends, 325°F is a safe bet. For synthetics like polyester, you might need to lower it to 300°F to avoid scorching or dye migration. Always check the transfer supplier's recommendations. If you're unsure, start at 300°F and test. Remember, temperature is not just about adhesion; it also affects the final feel. Higher temperatures can make the print stiffer.
Pressure: The Squeeze That Bonds
Pressure is measured in pounds per square inch (PSI) or by the feel of your press. For DTF transfers, you want medium to firm pressure. On a pneumatic press, that's around 40-60 PSI. On a manual press, you should feel resistance when you pull the handle down, but it shouldn't require extreme force. Too little pressure and the adhesive won't penetrate the fabric fibers; too much and the design may spread or the film may wrinkle. A good test: press a transfer and check if the edges are sharp and the film peels off cleanly when warm. If not, increase pressure slightly.
Time: The Duration That Seals the Deal
Typical press times for DTF transfers range from 10 to 20 seconds. Thicker fabrics or those with texture may need a bit longer. Start with 15 seconds at the recommended temperature and pressure. After pressing, you should be able to peel the film off while it's still warm (warm peel) or after it cools (cold peel). Most DTF transfers are warm peel, but confirm with your supplier. If the film resists peeling, it may need more time or pressure.
Step-by-Step: How to Apply DTF Transfers Perfectly
Now that you understand the settings, let's put them into practice. Follow these steps for consistent results.
- Preheat your press to the target temperature. Don't rush this; wait for it to stabilize.
- Prepress the garment for 3-5 seconds to remove moisture and wrinkles. This also helps the transfer adhere evenly.
- Position the transfer with the printed side up. The adhesive side should face the fabric.
- Apply pressure and press for the recommended time. Use a pressing pillow or sheet if needed for seams and zippers.
- Peel the film according to the instructions (usually warm peel). Peel in a smooth, continuous motion.
- Post-press for a few seconds with a cover sheet to enhance durability and soften the print.
Each fabric type may require tweaks. For example, stretchy fabrics like spandex need lower temperature and pressure to avoid over-stretching. Nylon can be tricky; use a lower temperature and test first. Always do a test press on a scrap piece of fabric before committing to a full order.
Common Mistakes and How to Avoid Them
Even with the right settings, errors happen. Here are some frequent issues and their fixes:
- Peeling after washing: Usually due to insufficient pressure or time. Increase both and ensure proper post-pressing.
- Dull colors: May be caused by too high temperature, which can burn the ink. Lower the temperature slightly.
- Stiff feel: Often from too much pressure or over-pressing. Reduce pressure and time.
- Adhesive residue on film: If the film peels off with sticky residue, the adhesive didn't fully transfer. Increase temperature or time.
Keep a log of your settings for each fabric and transfer type. This will save you time and materials in the long run.
Frequently Asked Questions About DTF Transfers
Can I use a home iron for DTF transfers?
While possible, it's not ideal. A home iron doesn't provide consistent pressure or temperature, leading to uneven results. A heat press is strongly recommended for professional-quality, durable DTF Transfers.
How do I adjust settings for different fabric colors?
Dark fabrics may require slightly more time or pressure to ensure the white underbase adheres well. However, temperature should remain consistent. Always test on a similar fabric.
What's the best way to store unused DTF transfers?
Keep them in a cool, dry place, away from direct sunlight. Excessive heat or moisture can activate the adhesive prematurely. Store them flat to avoid creases.
Do DTF transfers work on 100% polyester?
Yes, but you'll need to lower the temperature to around 300°F to prevent dye migration and scorching. Use light pressure and test first. Some polyester fabrics may require a lower temperature or a barrier sheet.
Why do my DTF transfers crack after washing?
Cracking often indicates insufficient adhesion. Ensure you're using the correct pressure and time, and always post-press. Also, wash garments inside out in cold water and avoid fabric softeners.
With these guidelines, you're well on your way to mastering DTF Transfers. Remember, practice makes perfect. Don't be afraid to experiment with small adjustments until you find what works best for your setup. Happy pressing!