
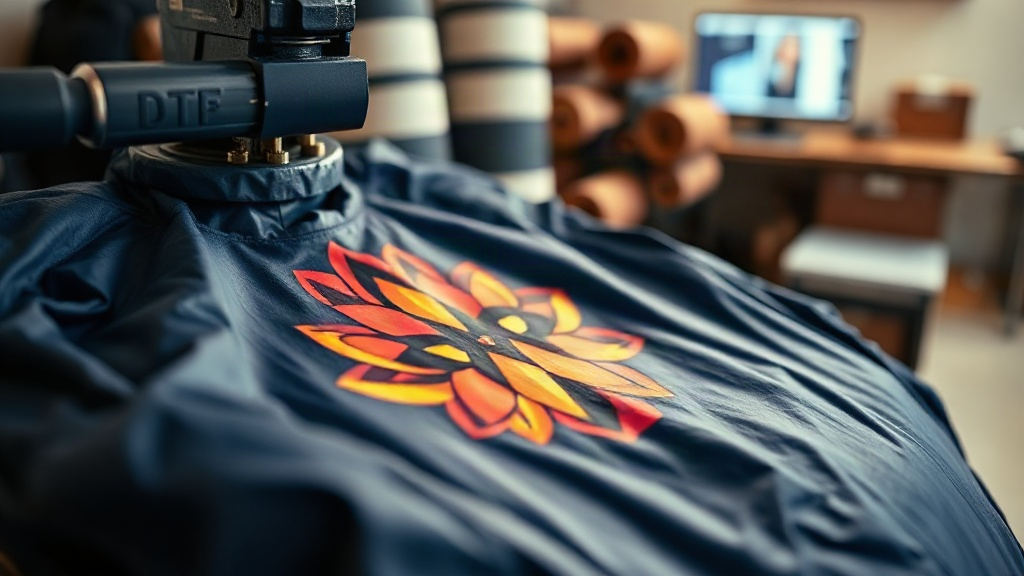
Direct-to-film (DTF Transfers) printing has quickly become a go-to method for custom apparel, and for good reason. It offers vibrant colors, fine detail, and works on a wide range of materials. But if you have ever tried to apply a DTF transfer to a nylon jacket or a stretchy polyester blend, you know that not all fabrics behave the same. This guide dives deep into the practical side of DTF printing on challenging materials, sharing insights from real print shop experience. Whether you are a hobbyist or a commercial printer, you will find actionable advice to improve your results.
Why Fabric Type Matters for DTF Transfers
The chemistry behind DTF transfers involves a thermoplastic polyurethane (TPU) adhesive that bonds to the fabric when heat and pressure are applied. This adhesive is designed to work best on cotton and cotton-poly blends. However, when you step into the realm of synthetic fibers, coatings, and textured surfaces, the bond can weaken. The key is to understand how different materials react to heat and how the adhesive interacts with their surface energy.
For example, nylon has a smooth, low-surface-energy finish that makes it difficult for adhesives to grab hold. Polyester, especially when treated with moisture-wicking finishes, can repel the adhesive. Leather and faux leather may be sensitive to heat, causing discoloration or warping. By adjusting your process, you can overcome these hurdles and achieve professional, wash-durable prints.
Preparing Different Fabrics for DTF Transfers
Preparation is half the battle. Before you even think about pressing, you need to prep the fabric to receive the transfer. Here is a breakdown of best practices for various materials.
Cotton and Cotton Blends
These are the easiest fabrics for DTF Transfers. Pre-press the garment for 5-10 seconds to remove moisture and wrinkles. This step is crucial because any trapped moisture can turn to steam during the transfer, causing bubbles or poor adhesion. Use a medium pressure and a temperature of 325°F (160°C).
Polyester and Synthetic Blends
Polyester requires a lower temperature to prevent dye migration and scorching. Set your heat press to 300°F (150°C) and use light pressure. Pre-press for 5 seconds to smooth the surface. If the polyester has a special finish (like Dri-Fit), wipe it with a lint-free cloth slightly dampened with alcohol to remove any residue that might interfere with adhesion.
Nylon
Nylon is notorious for being difficult. The fabric is heat-sensitive and can melt or shine if overheated. Use a temperature of 290°F (143°C) and light pressure. Pre-press for 3-5 seconds to remove wrinkles. Because nylon has low surface energy, you may need to use a special adhesive powder or a primer specifically designed for nylon. Alternatively, choose a DTF film with a high-quality adhesive that is formulated for low-energy surfaces.
Leather and Faux Leather
Leather can be tricky because it may discolor or become stiff when heated. Always test on a small area first. Use a low temperature (250-275°F / 120-135°C) and very light pressure. Pre-press for just 2-3 seconds to remove moisture. Consider using a Teflon sheet or parchment paper between the heat platen and the transfer to protect the leather surface.
Step-by-Step Application for Demanding Fabrics
Now that you have prepped your fabric, let's walk through the application process. These steps are tailored for challenging materials, but the principles apply universally.
- Set your heat press correctly. Always verify temperature and pressure with a heat gun or pressure gauge. For demanding fabrics, err on the side of lower temperature and lighter pressure.
- Position the transfer. Place the DTF transfer with the adhesive side down on the fabric. Use heat-resistant tape if needed to keep it in place.
- Press. Apply heat for the recommended time, usually 10-15 seconds for cotton, but for synthetics, start with 8-10 seconds. Too long can cause scorching or dye migration.
- Peel. DTF transfers are typically cold peel or warm peel. For most fabrics, cold peel (wait until it cools completely) yields the best results. However, some films are designed for warm peel. Check your film's instructions.
- Post-press. After peeling, cover the transfer with parchment paper and press again for 5-10 seconds to smooth the adhesive and ensure a strong bond.
Common Problems and How to Fix Them
Even with careful preparation, issues can arise. Here are some common problems and their solutions.
- Transfer peeling off after washing: This usually indicates insufficient pressure or time during application. Increase pressure slightly and extend press time by 2-3 seconds. Also, ensure the fabric is completely dry before pressing.
- Cracking or fading: This can happen if the transfer is overstretched or if the garment is washed in hot water. Always wash inside out in cold water and avoid bleach. For stretchy fabrics, choose a DTF film with elastic properties.
- Dye migration: When printing on dark polyester, the dye can sublimate into the adhesive, causing a discolored print. Use a low-temperature adhesive or a dye-blocking underlay. Some printers use a polyurethane film specifically designed to block dye.
- Adhesive residue on the press: This happens when the transfer is peeled too hot. Allow the transfer to cool completely before peeling. If residue builds up, clean your platen with a gentle solvent.
Choosing the Right DTF Film and Powder
Not all DTF supplies are created equal. The quality of your film and adhesive powder directly impacts the final result, especially on difficult fabrics. Look for films that are labeled for use on synthetics or low-energy surfaces. These films often have a thicker adhesive layer that can conform to textured surfaces. Similarly, the powder should be fine and evenly applied; too much powder can cause a rough feel, while too little leads to weak adhesion.
When testing a new film or powder, always run a small sample on the actual fabric you plan to use. This simple step can save you from ruining an entire order. Keep a log of your settings for each fabric type, including temperature, pressure, and time. Over time, you will build a valuable reference that streamlines your workflow.
Expanding Your Capabilities with DTF Transfers
Once you master the basics, you can explore advanced techniques. For instance, you can layer DTF transfers to create multi-color designs without the need for multiple screens. You can also apply transfers to unusual items like canvas shoes, tote bags, and even wood (with proper surface preparation). The versatility of DTF Transfers means you are not limited to t-shirts.
Another advantage is the ability to print on demand. Unlike screen printing, which requires setup for each color, DTF allows you to print single items cost-effectively. This makes it ideal for small businesses, personalized gifts, and sample production. By understanding how to adapt your process to different fabrics, you open up a world of possibilities for your customers.
Frequently Asked Questions About DTF Transfers
Can I use DTF transfers on 100% polyester without dye migration?
Yes, but you need to take precautions. Use a low-temperature DTF film (pressing at 300°F or lower) and minimize pressing time. Additionally, choose a film with a dye-blocking adhesive. Pre-press the garment to remove moisture and always do a test press on a scrap piece of the same fabric.
How do I wash garments with DTF transfers?
Turn the garment inside out and machine wash in cold water with mild detergent. Avoid fabric softeners and bleach. Tumble dry on low or hang to dry. Do not iron directly on the transfer. Following these steps will extend the life of your print significantly.
What is the best pressure for DTF transfers on nylon?
Use light pressure, around 2-3 on a scale of 1-10, depending on your press. Too much pressure can cause the nylon to melt or the adhesive to spread excessively. Start with low pressure and increase only if the transfer does not adhere properly after washing.
Can I apply DTF transfers to leather?
Yes, but with caution. Use a low temperature (250-275°F) and very light pressure. Pre-press for only 2-3 seconds. Always test on an inconspicuous area first, as some leathers may discolor or stiffen. Using a Teflon sheet between the press and the transfer can help protect the leather.
How long do DTF transfers last on fabrics?
With proper application and care, DTF transfers can last as long as the garment itself. On cotton, you can expect 50+ washes without significant fading. On synthetics, longevity depends on the fabric and washing conditions, but with cold water washing and inside-out drying, you can achieve 30-40 washes or more.