
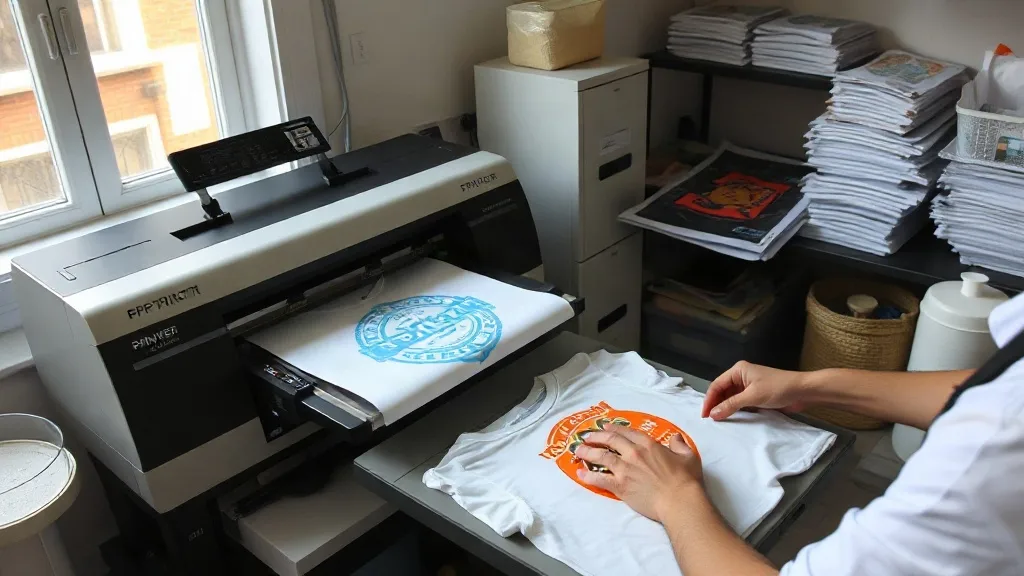
So you've decided to dive into the world of dtf transfers and you're probably feeling a mix of excitement and confusion. There's a lot of information out there, and it can be overwhelming to know where to start. Don't worry, I've been there. This guide will walk you through the entire process, from understanding what DTF is to pressing your first garment like a pro. By the end, you'll have a solid foundation to start creating vibrant, durable prints on almost any fabric.
What Are DTF Transfers and Why Are They So Popular?
DTF stands for Direct-to-Film. It's a printing method where your design is printed onto a special film, coated with adhesive powder, and then heat-pressed onto fabric. Unlike DTG or screen printing, DTF doesn't require pre-treatment or special inks for different fabrics. That means you can print on cotton, polyester, blends, and even nylon with the same process. The result is a soft, stretchable print that holds up wash after wash.
What makes dtf so appealing to beginners is its low barrier to entry. You don't need a huge setup. A decent printer, some film, powder, and a heat press are enough to get started. Plus, the ability to print full-color designs without worrying about color separations or screen setup makes it incredibly versatile for small businesses and hobbyists alike.
The DTF Process: Step by Step
Let's break down the process into manageable steps. Understanding each stage will help you troubleshoot when things go wrong.
1. Design Preparation
Start with a high-resolution image. For best results, use PNG files with transparent backgrounds. Your design should be sized appropriately for the garment area you're decorating. Remember that DTF prints white ink as a base, so light colors on dark shirts will need that white layer to pop. Most RIP software will handle the white layer automatically, but it's good to know.
2. Printing onto Film
Load your DTF film into your printer. The film has a coated side where the ink goes. Make sure you're printing on the correct side! Your printer should be equipped with DTF ink, which includes white ink. Print your design, and the printer will lay down color and white ink in one pass. Some printers require you to manually switch between color and white, but many modern DTF printers handle it automatically.
3. Applying Adhesive Powder
While the ink is still wet, sprinkle the adhesive powder evenly over the printed area. You can use a powder shaker for better control. Then, shake off the excess powder. The powder should stick only to the wet ink. This step is crucial because the powder is what will melt and bond the print to the fabric.
4. Curing the Powder
Now you need to melt the powder. This is typically done with a heat press or a specialized curing oven. Set your heat press to around 170-180°C (338-356°F) and press the film for about 10-15 seconds. The powder will melt and create a shiny, slightly bumpy surface. Don't over-cure, or the film may warp.
5. Pressing onto the Garment
Once cured, your transfer is ready to be pressed onto fabric. Set your heat press to 150-160°C (302-320°F) with medium pressure. Place the transfer on the garment with the printed side down (the powder side touching the fabric). Press for 10-15 seconds. Then, peel the film while it's still hot (hot peel) or let it cool completely (cold peel). The peel method depends on the film type, so check your film's instructions.
Choosing the Right Equipment for Your DTF Setup
Starting with DTF doesn't have to break the bank, but investing in quality equipment will save you headaches. Here's what you need:
- Printer: A dedicated DTF printer or a converted inkjet printer with DTF ink. Epson models are popular for conversions.
- Film: DTF film comes in sheets or rolls. Start with sheets if you're testing.
- Powder: Adhesive powder (also called hot melt powder) is available in different particle sizes. Fine powder is better for detailed designs.
- Heat Press: A clamshell or swing-away press with accurate temperature and pressure control.
- Software: RIP software to manage color and white ink layering.
If you're just starting, you might consider outsourcing your prints to a service that offers dtf transfers near me to get a feel for the quality before investing in your own equipment. Many local print shops now offer DTF transfer services.
Common Pitfalls for Beginners and How to Avoid Them
Even with the right equipment, beginners often run into issues. Here are some common problems and their solutions.
1. Ink Not Adhering to Film
This usually happens when the film is loaded wrong side up, or the printer settings are off. Ensure you're printing on the coated side and that your printer is set to the correct media type.
2. Powder Not Sticking
If the powder doesn't stick, the ink might be too dry. Try printing with a higher ink density or adjust the humidity in your workspace. Also, make sure you're applying powder immediately after printing.
3. Cracking After Washing
Cracking can occur if the transfer wasn't pressed with enough pressure or if the powder wasn't fully cured. Double-check your press settings and ensure the powder is melted completely. Also, washing inside out in cold water helps prolong the life of the print.
4. Film Peeling Off the Garment
If the film peels off after pressing, it's likely due to insufficient pressure or temperature. Increase pressure and ensure the press is at the recommended temperature for your film. Also, make sure the garment is flat and free of wrinkles.
DTF vs. Other Printing Methods: A Quick Comparison
Understanding how DTF stacks up against other methods will help you decide when to use it.
- DTF vs. DTG: DTG requires pre-treatment and works best on 100% cotton. DTF works on almost any fabric and doesn't need pre-treatment.
- DTF vs. Screen Printing: Screen printing is cost-effective for large orders but requires setup per color. DTF is great for small batches and full-color designs.
- DTF vs. Vinyl: Vinyl is limited to simple designs and solid colors. DTF can handle complex, photorealistic images.
Tips for Scaling Up Your DTF Production
Once you've mastered the basics, you might want to increase your output. Here are some tips:
- Invest in a roll-fed printer: This allows continuous printing and reduces film waste.
- Use a powder shaker: For even application and less mess.
- Create gang sheets: Arrange multiple designs on one sheet to maximize efficiency.
- Keep a log: Record settings for different fabrics and designs to maintain consistency.
Frequently Asked Questions
What fabrics can I use with DTF transfers?
DTF works on a wide range of fabrics, including cotton, polyester, blends, nylon, and even leather. It's not recommended for fabrics with heavy coatings or finishes that repel heat.
How do I wash garments with DTF prints?
Turn the garment inside out and machine wash in cold water with mild detergent. Avoid bleach and fabric softeners. Tumble dry on low or hang dry. Do not iron directly on the print.
Can I use DTF on dark colors?
Absolutely. DTF includes a white ink layer that acts as a base, so colors remain vibrant on dark fabrics. Just ensure your design file has the white layer set correctly.
How long do DTF transfers last?
With proper application and care, DTF prints can last as long as the garment itself. They are durable and resistant to cracking and fading.
Do I need special ink for DTF?
Yes, DTF requires DTF-specific ink, which includes white ink. Using regular inkjet ink will not work because it lacks the necessary pigments and adhesion properties.
Getting started with DTF transfers is an exciting journey. With the right knowledge and a bit of practice, you'll be producing professional-quality prints in no time. Remember, the key is to experiment, take notes, and don't be afraid to make mistakes. Happy printing!